Custom Embroidery - 10 Steps to Success
Our business is embroidery, and we have been doing it for over 35 years! This page will
guide you through your first embroidery project. Think of Corporate Casuals as your
embroidery consultants. We have years of experience, some of the best online
embroidery tools, and a catalog chock full of apparel.
Step 1: Select Garments or Items to Embroider
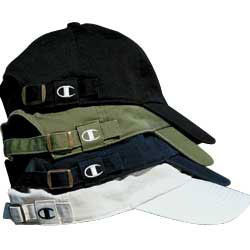
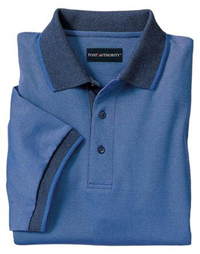
All sorts of items can have embroidery applied; hats, shirts, jackets, bags, blankets, baby
bibs, towels the list is almost endless. An embroidery charge will cost between $3.50 to
$6.00 per unit depending on stitch count and quantity. Choose items that will be durable
and look good after months of use.
[TOP]
Step 2:
If your organization has a logo, then this step may be as simple as
obtaining a graphics file of your logo and uploading it to our web
site. If not, you will need to choose a graphic that meets your needs. There are many places on
the web you can visit to gather some ideas.
The last thing to think about is how your
embroidery design will fit on the items you have selected. Hat
logos have a size restriction of 2.25 inches. If you want your design to fit on pretty much everything, do not make it larger than
2.25 inches high by 4 inches wide. Some customers prefer to create two versions of their design, one for hats and one
for shirts (2.25" x 4.00" and 3.00" x 4.00").

[TOP]
Step 3: Choose Text to Compliment the Logo
Mark Twain said it best "If I would have had more time, I would have written you a shorter letter." It takes a
lot of skill and much more time to write concise text and copy. When designing embroidered logo's shorter is better.
Mark Twain had it easy; he could write smaller and use more paper. In the embroidery world, text
can only be stitched so small, and there is often limited space. Think carefully about
the text you want with your logo. Be precise and try to use the fewest letters possible.
Embroidered text may be stitched no smaller than 3/16" tall. Practically speaking, if you want people actually to
read your message you should plan on text that is 1/4" to 1/2" tall. The number of letters you can use is a function
of the text size and maximum width of the item. Most embroidered garments have a four-inch wide
area for design and text. Use our design studio to see how many
letters you can fit on a 4-inch (wide) logo.
[TOP]
Step 4: Check Spelling, Colors, and Sizes
Even with computers and automatic spell checking, designs with incorrect spelling are submitted
all the time. This is especially true of proper names and unusual words (radio station call letters
for example).
Another common place for mistakes is selecting colors for the embroidery. Always be sure the colors
in your design contrast sufficiently with the item you are embroidering.
[TOP]
Step 5: Send in Your Design for Digitizing
If you do not have artwork in a common embroidery format, you will need to
have someone convert your artwork into an embroidery format.
This process is called digitizing, and you can expect to
pay about $35.00 - $100.00 for an experienced digitizer to do this
conversion. Rather than arranging for digitizing yourself,
it is much easier to have it done by the embroidery shop that will
be stitching your items. Since some types of fabric can be
challenging to embroider, using the same shop for everything allows
the shop to adjust the design so that it will stitch well on their
equipment.
[TOP]
Step 6: Order Samples
If you are organizing a large order, you may want a sample of the
items. Any reputable embroidery shop will have a program where
you can get a sample of the items you plan to buy. Expect to
provide a refundable deposit on a major credit card to secure the
samples.
[TOP]
Step 7: Review and Approve Digitizing
For large orders, you may want to see a sample of your design. Most embroidery shops
can send you a sample stitched on a piece of scrap material. Some shops can create an
electronic sample in a graphics format such as a PDF file for review on a computer
screen. At Corporate Casuals we offer an online proofing system to make the proofing
process quick and painless.
[TOP]
Step 8: Place Your Order
By this time you have your samples and design, you need to place the
order. Most people don't realize that clothing can be quite
heavy especially when you are dealing with larger orders.
Proper planning will ensure that you can ship via ground to get the
best shipping rates.
[TOP]
Step 9: Send Back Samples
Don't forget to return those samples. If you fail to return them, you will be charged.
[TOP]
Step 10: Reorder
After the first order, reorders are simple. Color changes can be made without any trouble at all. Modifications to the stitching
or size will still need approval but will be easier because you have point or reference in the original design. The easiest
way to re-order is to have your logo saved online in your account so you may select the garments and automatically check
out. Reorders should take no more than a few minutes to place once you have decided on the garments.
[TOP]